If the venue does NOT supply rental equipment, reach out to a rental company who will deliver to and pick-up from the venue. From there:
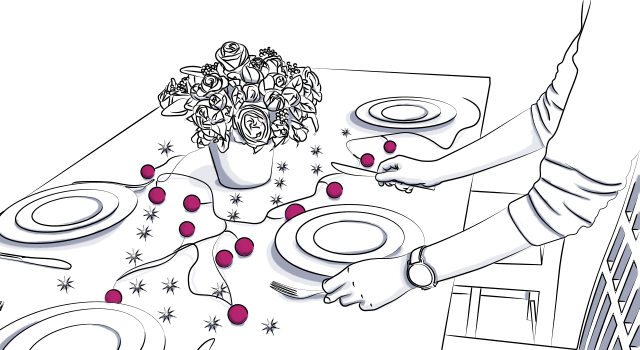
- Begin an order with an estimated count of tables, chairs, and any other rental equipment you think you’ll need. (Silverware, plate ware, glassware, linen, etc.)
- Make sure the drop-off and pick-up times are within the guidelines of the venue.
Event planning made easy with fast diagrams
Get Started Free
Step 2: Select your event entertainment

- Decide on whether you’d like to hire a DJ or a live band to get your guests movin’ and groovin’!
- Looking for something extra? Consider something unusual like trick bartenders to toss some bottles while they pour cocktails or aerialists to perform while your guests mingle.
- Once you’ve selected your entertainers, put them in touch with the venue for their load-in and load-out times.
Step 3: Identify your event decor

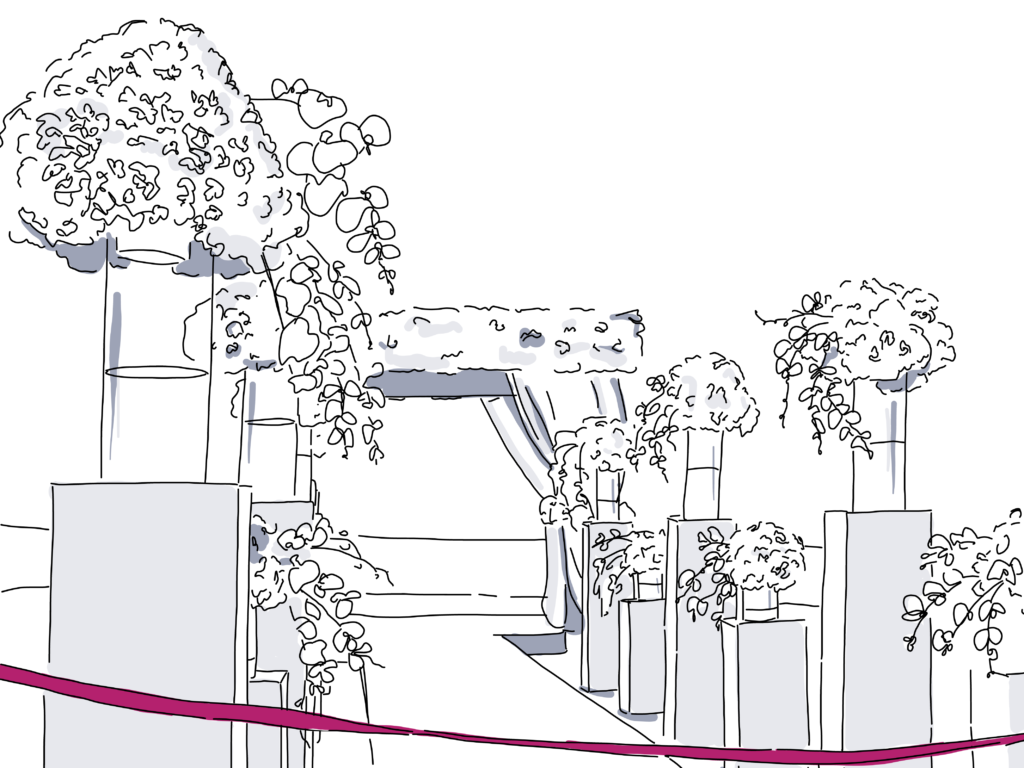
- Want to add some flair to your event? Look for a designer to bring your theme to life. Some events need a lot, some need very little. Find a designer who can make your space look amazing while staying within your budget.
- Get ideas for event decor with budget-friendly wedding decor, summer event decor ideas, and event decor design principles.
Step 4: Select your event F&B catering
- If the venue does not offer catering, ask for the space’s preferred vendors.
- Find a caterer that can work within your budget to provide the type of food and bar menu you’re looking for and provide staff to serve.
- Determine the menu, remembering to accommodate dietary restrictions.
- Make sure the caterer knows their load-in and load-out times, and confirm with the venue.
Step 5: Finalize other event elements for your event’s goal
Depending on the type of event you’re hosting, there may be other elements to plan before the event, such as:
- Event marketing and branding
- Sponsorships
- Ticketing
- Event registration process
- Booking speakers
- Transportation and accommodations
- Audio/visual needs
Putting these pieces together is often the hardest thing about event planning. Once they’ve been put in place, create a timeline for the day of the event and make sure that each vendor has a copy. This helps them know when they are allowed to begin loading in their equipment, when they need to be ready, and when they can begin breaking down.
Bring better events to life, no stress
Get Started Free
2. What to Do On the Day of the Event
It’s the day of your event! It’s go-time, and it’s never been more important to have your event planning guide handy to steer you toward success.
Step 1: De-stress by organizing yourself
First, prepare yourself for the day ahead by:
- Wearing comfortable clothes and shoes
- Eating well and staying hydrated
- Printing out a list of all contacts
- Printing out the full event schedule
Step 2: Prepare your emergency kit
Second, all good event planners bring a day-of emergency kit to every event. Your kit might include:

- Ibuprofen
- Gaffing tape
- Multi-tool
- Zip ties
- Bandages
- Safety pins
- Travel sewing kit
Step 3: Set up at the event venue
When you actually arrive at the event venue, here are some best practices for smooth event preparation:
- Check your timeline to make sure all vendors show up on time with the equipment they need.
- 30 minutes before your event will begin, go over your checklist, and make sure everyone is where they are supposed to be.
- Once your event kicks off, periodically check in with your vendors to make sure they’re on track with your timeline. Be available for any questions. If something changes, which it often does, let every vendor know so they can adjust accordingly.
- When your event ends and the guests leave, be ready for break down. Pay attention to the load-out times, as some venues have strict guidelines .
- Giv e out final payments to your vendors and distribute tips, if any, to service staff.
- If there are any rentals that have to be picked up the next day, ask the staff to place them where the rental company can find them.
3. What to Do Post-Event
Even though the event is over, your work as an event planner isn’t done quite yet. At this point, it’s time to tie up any loose ends that linger after the event has ended.
Step 1: Gather feedback
Contact your client for a review of how they think the event went. It’s always great to get feedback, good or bad, to see what you can do to improve. Best case scenario: you can get a testimonial quote that you can post on your website for future clients!
If you are part of an event group, schedule a post-con with your team to discuss the event. Figure out what everyone did well and what you could improve on.

Step 2: Thank everyone who helped
Contact all of your vendors to thank them for all of their hard work and to follow up with any comments they might have.
Step 3: Collect bills and pay pills
If there are any outstanding bills, make a schedule for when they are due and how you’re going to pay them.
Now you’re equipped to plan events from start to finish!
Using an event planning guide can help you set deadlines for tasks, hold you and the team accountable, and remind you of what has been done and what is outstanding.
Try the world’s best event planning diagramming
Get Started Now
Did we miss any essentials in our event planning guide? Join us on Facebook and let us know what we missed.


